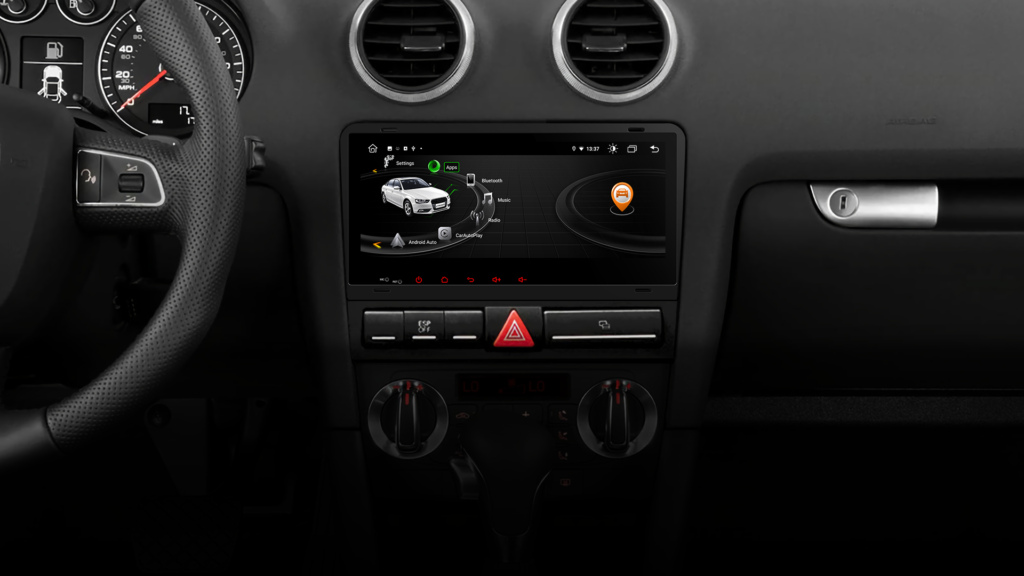
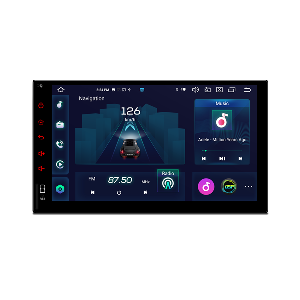
- Car stereos
- Unit Size
- Stereo by Car Brand
- Stereo by Series
- Headrest Screens
- Screen Size
- Type
- Overhead Screens
- Accessories
- Extras
- Dongles
- Fitting
- Car Makes
- Shop Clearance
Have questions about your installation? XTRONS Installation Advice Group
We are passionate about in-car entertainment. We want to give our customers products that are not only useful, but a joy to interact with. With a focus on technological advancement and user experience, we do our best to lead the pack in aftermarket car stereos. With an XTRONS head unit, it’s easy to upgrade your car and give it the latest in infotainment.
All of our stereos are designed to be fitted by the user. While in some unusual cases, some specialist wiring might be required, most of our units will slot right into your dashboard without too much effort. Some are even designed to simply plug and play, while some go one step further and retain access to your original stereo's features.
We are often asked how to install one of our car stereos. While there are an incredible number of cars on the market, the short answer is - it’s easy! With minimal tools or electrical knowledge, your XTRONS head unit can soon be navigating, streaming the internet or blasting out your favourite music and movies.

Below is a quick, handy guide to installation. Some important notes first -
- Some cars will require a little more work, and this is best left to a professional. Be honest about your capabilities, and always err on the side of caution.
- Always make safety your first priority. Don’t take any risks with sharp objects, mechanical parts or electricity.
- Please check compatibility and dimensions carefully beforehand. This is listed in the details of every XTRONS product.
That said, follow these simple instructions and your installation should be a breeze!
While it sounds obvious, forgetting this important first step is all too easy to do. Car batteries can carry quite a charge and the last thing you want is to test that with your body! Your safety should always be the priority and you should never mess around with electricity - always assume something is live unless you’ve proved it isn’t.
To deal with the battery, disconnect the negative battery cable, which will ground the terminal and ensure it is no longer live and dangerous. Be sure to tuck that wire away carefully too, so that it doesn’t accidentally touch the terminal and reconnect itself. A bit of electrical tape should do the trick nicely. Now you’re ready to start work.

You’ll most likely need to remove a portion of the dashboard to get at the area you need. This is not a destructive process - they’re designed to do this! Depending on your car, you may need to remove a smaller or larger area, but for most it will just be a single panel. Use a trim tool or a flat-headed screwdriver to assist you in levering the panel, of course being careful not to crack or otherwise damage it.
Next, find the wire connectors, which should be just behind the dashboard. Give them a gentle squeeze and they should come out fairly easily. The original stereo itself will almost certainly be held in by some screws. Simply unscrew these with the appropriate screwdriver (normally a small Phillips-head will be the one), and ease the unit out. From here you can easily disconnect the remaining wires. Some stereos will be heavier than you think, so do take care not to damage anything on the way out.
Congratulations, your car stereo is disconnected! This leaves the perfect space for your new XTRONS head unit.
Your new XTRONS unit comes with a wiring harness, designed to fit it snugly into your vehicle’s dashboard. You’ll need to connect it to your vehicle’s plug, which is the one you disconnected in the first step.
First connect the earth wires together - you may need to use a plastic posi-connector, or solder them if you prefer. We’ll admit, this does sound fiddly, but it ensures the safety of your head unit, and really is about as difficult as the install gets. You want the wires to be held in properly, to ensure a speed bump or pothole doesn’t interrupt your entertainment.
All of the wires should be colour-coded for their function, and can be connected together in the same manner. You will also see wires there that are used to power your new unit’s video screen - again, connect these in the appropriate place. If in doubt, your XTRONS unit will ship with a wiring diagram, so anything that is not self-explanatory can be worked out from there.
Once these are all connected, your wiring harness is set up and you’re ready for the next stage.
The installation kit helps you to sit the head unit in properly and makes the stereo look like it belongs in your dashboard. While an XTRONS unit is of course an aftermarket upgrade, you’ll still want to make the final result look slick and “finished”. The brackets are there to hold your new head unit comfortably in place - put them in situ and screw them in. If you’re unsure, the brackets will only fit one way, so that’s the correct way to put them! This should set up the spot for your new XTRONS head unit perfectly.

Not so fast! Have you had a look at our range of accessories? We have microphones, USB powered dash cams, tyre pressure monitors and many more things to extend your entertainment and functionality. While XTRONS units come with a huge array of features for you to enjoy, a lot of the fun of getting an aftermarket stereo is getting EXACTLY what you want in there. Add 4G connectivity with a dongle, or a reversing camera for safe manoeuvres, for example. Whatever you choose, this is the time to run those cables behind your unit and keep your car’s interior looking clean.
The moment of truth has arrived. Everything is ready and in place, and your new stereo is ready for fitting. With the prep you’ve done, this should now be easy. Simply slide in your head unit - carefully - and connect each wire to its corresponding port. Don’t worry about the wiring, it will all be self-explanatory as to what goes where. If in doubt, consult the manual. The head unit should sit nice and flush, without you having to physically force it. Of course the final look depends on the shape of your dashboard, but it should certainly look like it fits in place. Once you’re happy and you’ve checked that the screw holes line up, then fasten your stereo into its new home.

Put back in place any dashboard panels you removed in the installation, restoring your cab to normal. Once you’re happy with the appearance, carefully reconnect the negative wire on your car battery. After you have done this, your fabulous new XTRONS head unit should be wired, fitted and ready to go! Fire up your favourite music, podcast or audiobook, and enjoy the amazing new features at your fingertips. You may even find it takes a while to fully explore the features that we squeeze into every unit.

If you’re unsure about any aspect of this, please contact XTRONS tech support for advice, or simply consult the manual that comes with your stereo. It may also be useful to look at some of our customer installation videos, to see how others got on.
While this guide is intended to help you fit your new XTRONS unit yourself, always consult a professional if you are unsure about any of the stages. For most vehicles, it will be a simple process, but with the many variants out there, there is always a chance of an intricacy popping up. Always be safe with electricity, and never be afraid to ask for help!
That said, we design our stereos to be accessible in every way, and installing an XTRONS unit is a quick, easy and cost-effective way to upgrade your car’s interior, and make every journey a pleasant one. Enjoy your new stereo!

 Double Din
 Single Din
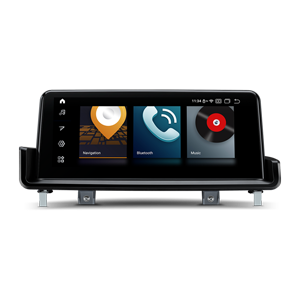 Original System Upgrade
 For Electric Cars
 Alfa Romeo
 Audi
Audi BMW
BMW Buick
Buick Chevrolet
 Citroen
 Dacia
Dacia Fiat
Fiat Ford
Ford GMC
GMC Holden
 Honda
Honda Hummer
 Hyundai
 Jeep
Jeep KIA
KIA Land Rover
 Mazda
Mazda Mercedes
 Mitsubishi
 Nissan
 Opel
Opel Porsche
 Renault
 SEAT
SEAT Skoda
Skoda Suzuki
 Toyota
 Vauxhall
 Volkswagen
 IE Series
 IAS Series
 IQ Series
 IX Series
 QL Series
 QA Series
 QE Series
 QS Series
 QP Series
 QX Series
 9 Inch
 10.1 Inch
 11.6 Inch
 12.5 Inch
 13.3 Inch
 14 Inch
 Android System
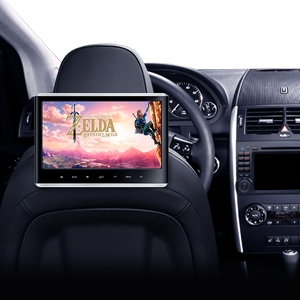 Bracket Mount
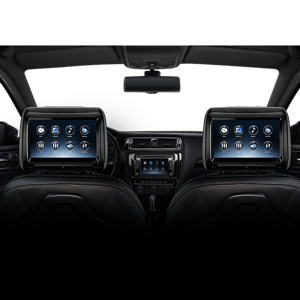 Pillow Mount
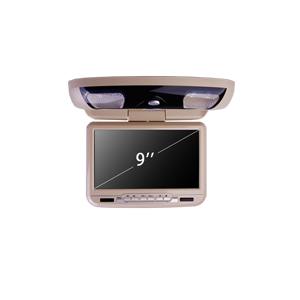 9 Inch
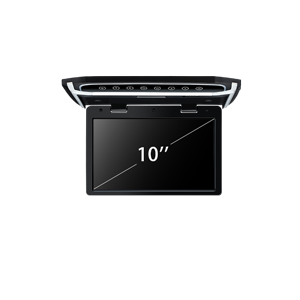 10 Inch
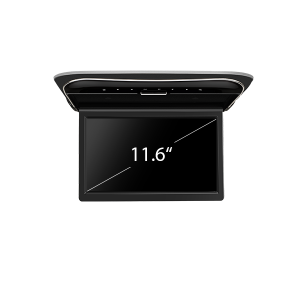 11.6 Inch
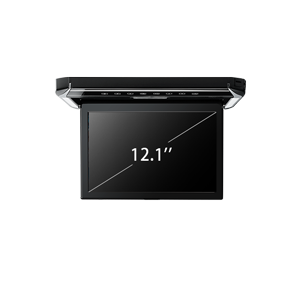 12.1 Inch
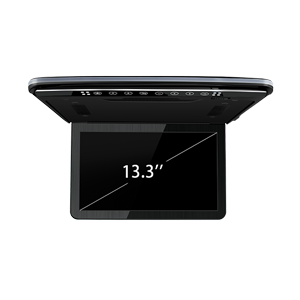 13.3 Inch
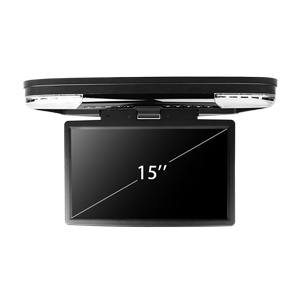 15.6 Inch
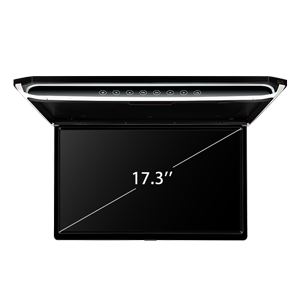 17.3 Inch
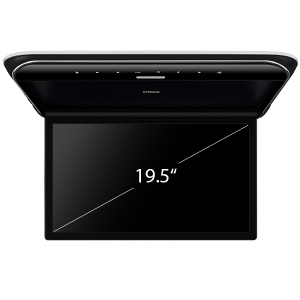 19.5 Inch
 Android System
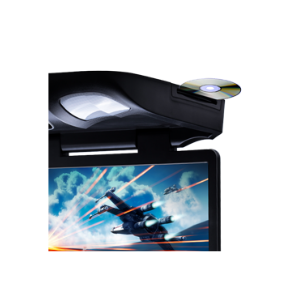 DVD Player
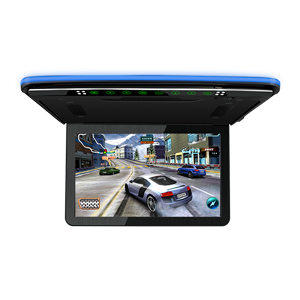 Monitor
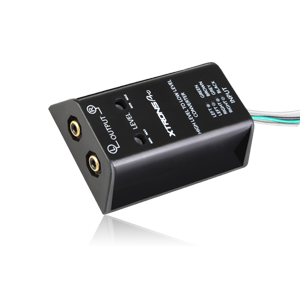 Convertors
 DAB/DAB+
 Dash Cam
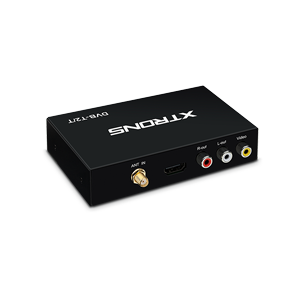 DVB-T
DVB-T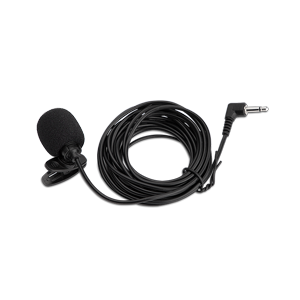 External Microphones
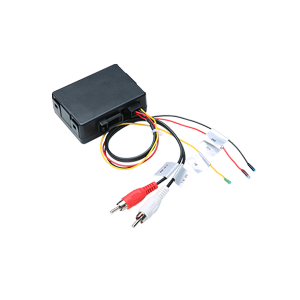 Fiber Optic Connectors
 Headphones
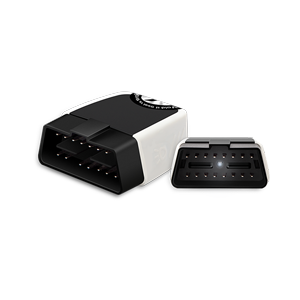 OBDII Scanner Tool
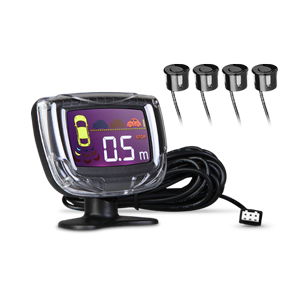 Parking Sensors
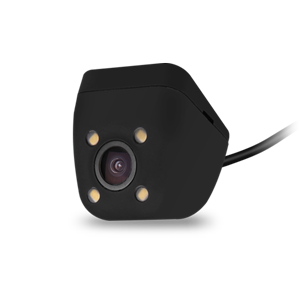 Reversing Cameras
 Spares
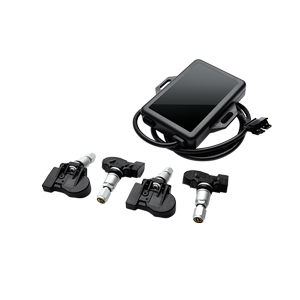 Tyre Pressure Monitoring
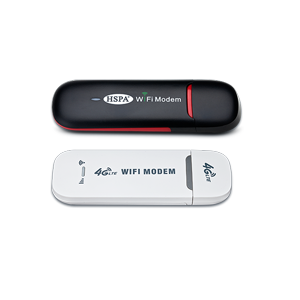 4G - 3G Dongles
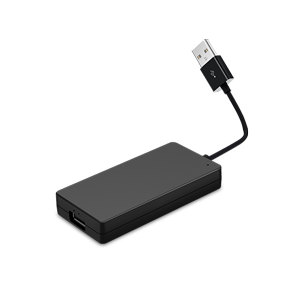 Apple Dongles
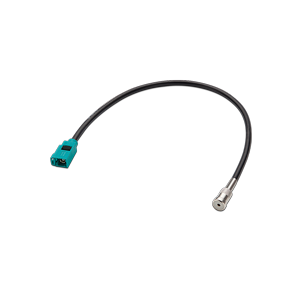 Antenna Adaptors
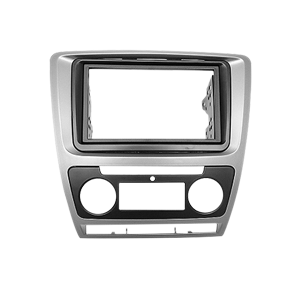 Fascia Panels
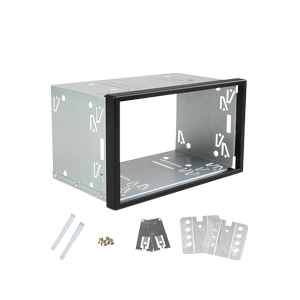 Fitting Cages
 Installation Kit
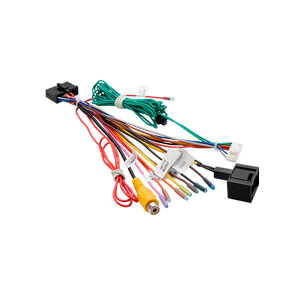 ISO Harness
 Steering Wheel Control