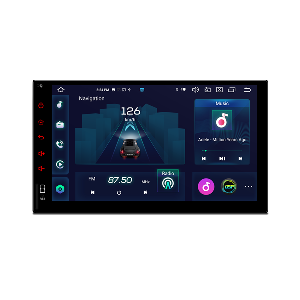
In-Dash Car Stereo Installation

If you’re anticipating a new toy for your car this Christmas, and you’re not quite as tech savvy as you make out to your friends at the car convention, don’t worry - we can help.
A new car stereo for Christmas is what car lover’s dream about. Despite many enthusiasts enjoying the challenge of an in-dash car stereo installation, some of us can find it fairly frustrating. Therefore, this handy guide has been designed to enable you to have the patience of a saint, rather than scathing like a Scrooge, for your efforts.
Removal We advise the removing of your old stereo as the first point of call, before attempting to install your new one. The most common types of stereo installations are either a fitting cage with spring clips or the use of dash mounted brackets. The latter usually being the more complicated, so that’s where we’ll start.
Dash Mounted Brackets This is a favourable method for Japanese manufacturers, resulting in a somewhat secure fitting. Panel removal tools are therefore recommended. Carefully and gently, you will need to prise the stereo surround away from the stereo itself. This should clearly reveal how the stereo is fitted. Often, you will discover four screws attached to the dash itself or side brackets. Once these are out, the stereo should slide out too.
Fitting Cage & Spring Clip Using the removal keys provided by your car stereo supplier, fix them in to the correct channels and listen for a fain ‘click’ as the keys lock in to position. Usually, this is enough to extract the stereo, however, you may also need to adjust the pins before pulling them to release the unit from the cage. Sometimes the cage can vary in the way it’s secured, so make sure you assess the situation before trying to extract with brute force.
Disconnecting the OEM Stereo Take your time and have patience with this because they style of connection will vary. Quadlocks connections are the more modern preference but don’t be surprised to find an alternative. Despite this, the same process is needed: locate the locking tab that secures the harness, and once depressed, it should release the unit. If it is a quadlock, you will need to pull down the locking arm to remove the connection. lease be advised that removing the OEM may disable warning tones. The correct adaptor will be required to retain this function. Visual learners click
here. Preparation Station Adaptor – Make sure you’ve got a standard ISO connection or adaptor to be able to attach to the vehicle harness, to obtain a universal ISO fitment.
Connections – Well insulated and secure connections will prevent shorting out. The two most common types are soldering & crimping.
Crimping: For most, this is the easiest and quickest method. As long as you have the correct size crimp for the gauge of wire, along with the correct style (Bullet/Spade/Butt etc), it’s a straight forward operation. Visual learners click
here. Soldering: For the more advanced professionals amongst us, soldering is technically harder but will maximise current flow. Visual learners click
here. 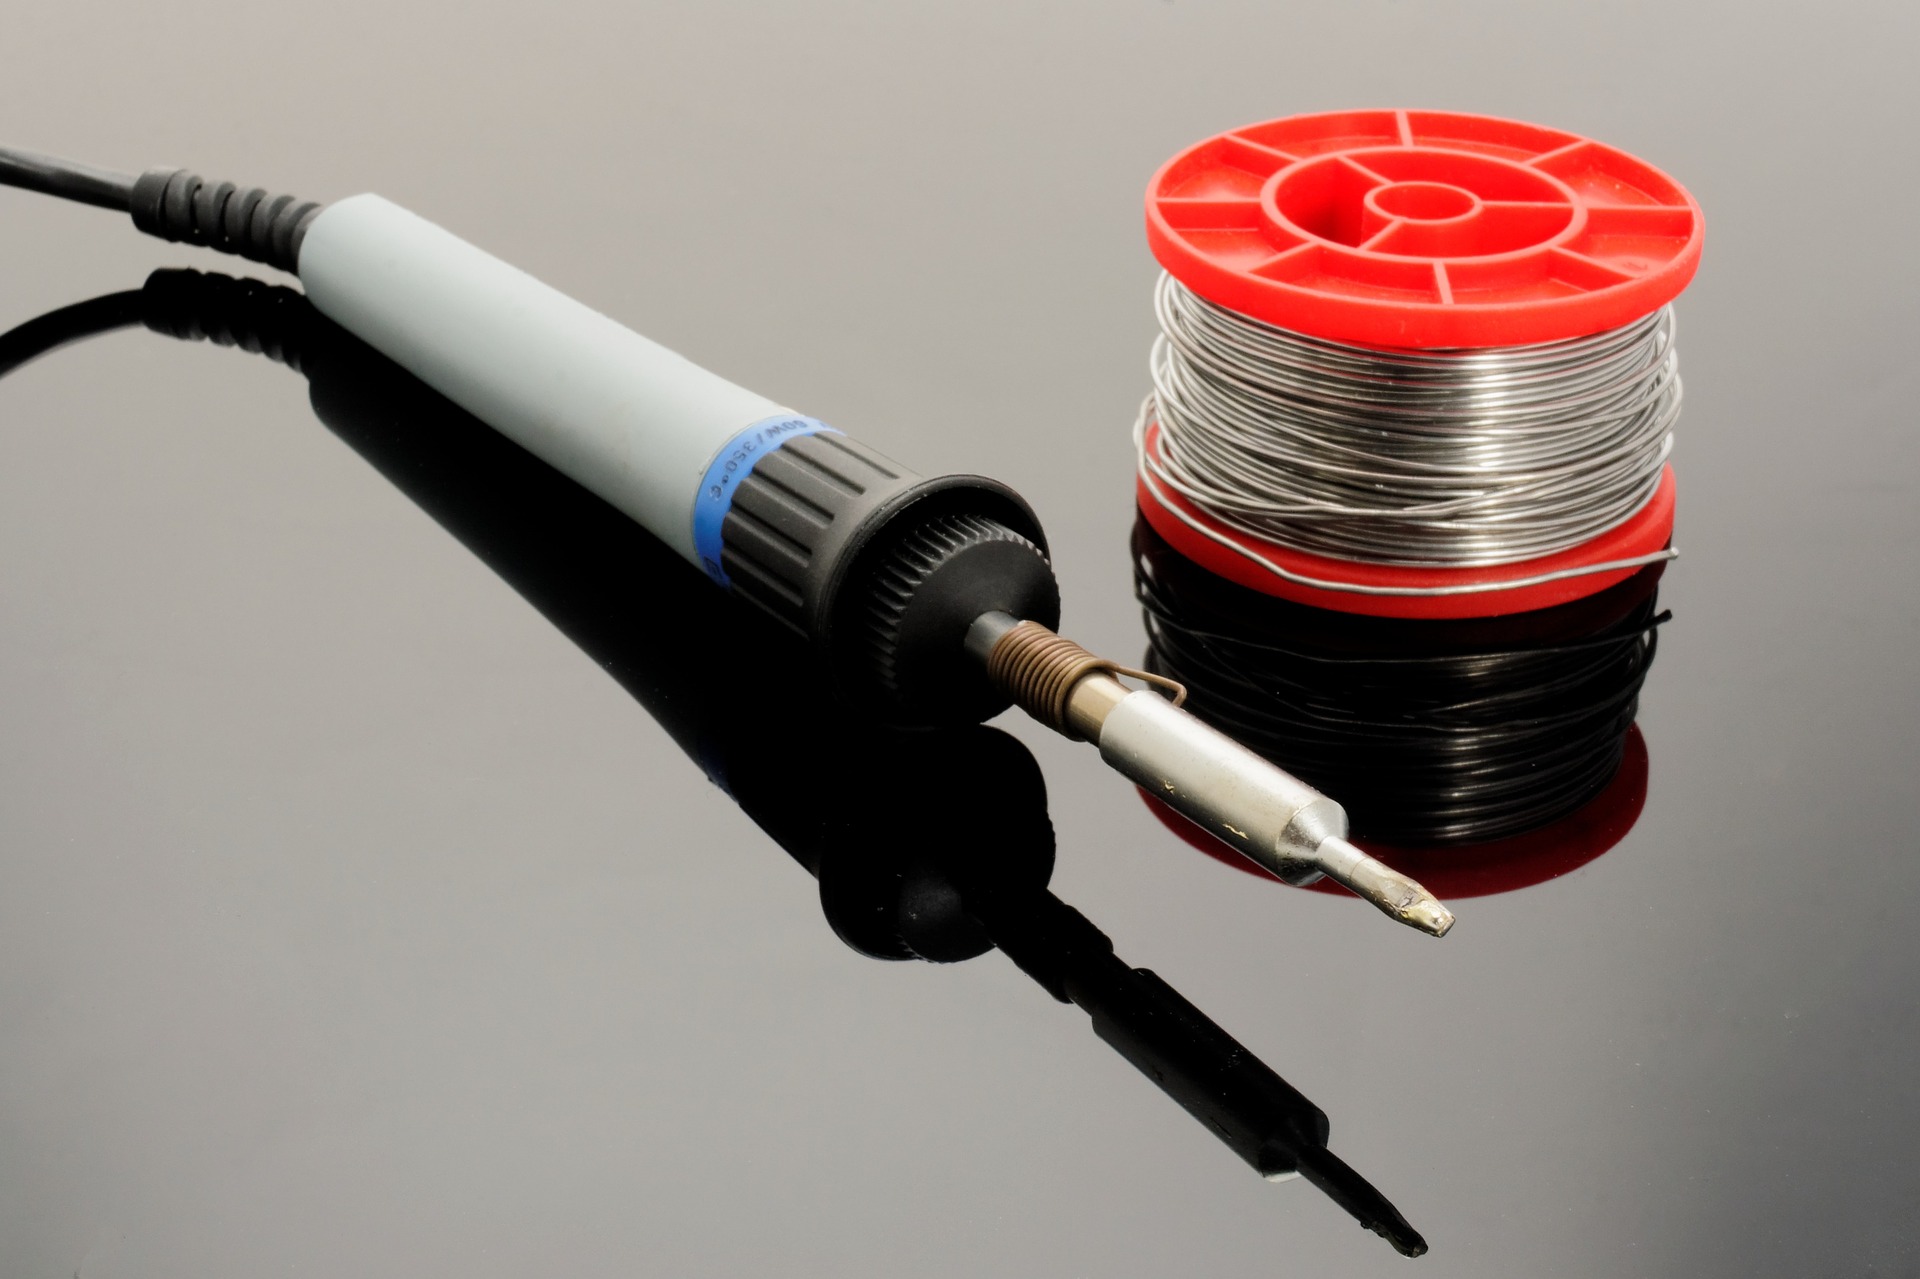 Knowing Your Connections
 It’s important to understand how your unit works so that you can be confident of your installation.
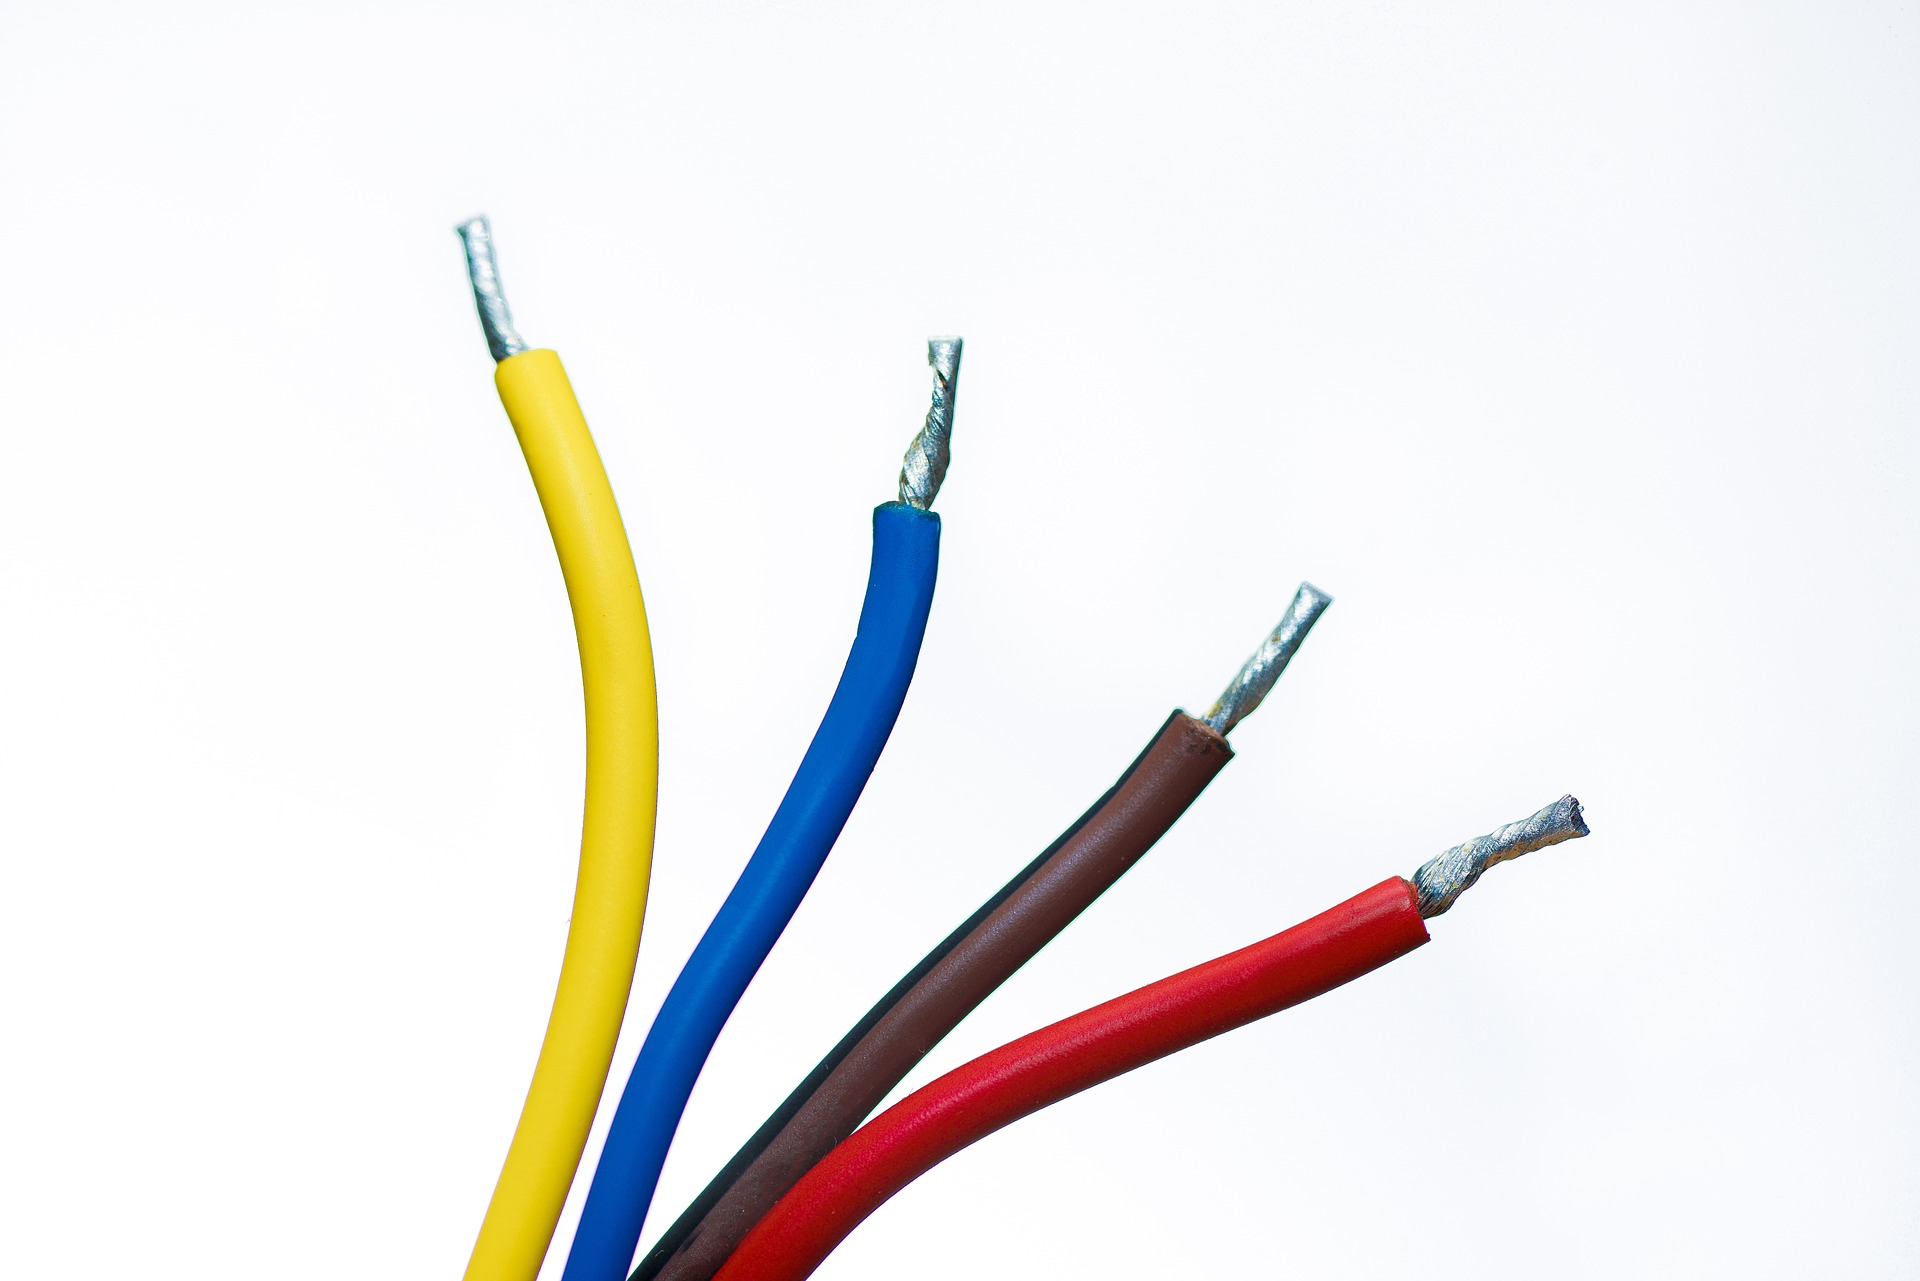 Lives:
 Most modern stereos require two live wires. One permanent to retain memory and one switched (ACC) to allow the vehicle to switch on intuitively.
Ground (Black): This is not a type of coffee; it’s the most important connection of them all! Without it, the unit will not work.
Permanent (Yellow): This is the wire which retains the memory for pre-set radio stations and the like, whilst the ignition is off.
Switched (Red): Usually referred to as the ACC, it is usually alongside the black wire but some vehicles work on reversed set-ups requiring red and yellow to exchange places. If you’re still unsure, use a multimeter to test the wires. The one with a permanent 12V should be the yellow wire. Next, source the ACC feed to obtain the red wire. A process of elimination should do the rest.
Ancillary Functions These are the additional wires which activate some of the other functions of your Xtrons unit.
 Brake Wire:
 This wire is supposed to be connected to the handbrake. This means that you can only watch the DVD or TV when the handbrake is on. Of course, this is a safety precaution. You could connect it to the ground wire to enable viewing at any time.
Reverse Switch: This is for the connection of a reverse camera and will probably be marked ‘CAM, BACK or REVERSE’ - it requires a 12V feed (often taken from the lights) so that when the vehicle is in reverse it tells the stereo to switch to the reverse screen.
Illumination: It’s bright orange and can’t be missed. Make sure it’ wired in to the illumination circuit of your vehicle as this allows the screen to dim or illuminate if the vehicle lights are turned on. Granted, there’s a lot to take in here but at least you’ll be able to install your new stereo with minimal fuss and head on down to that car convention to show off your new-found installation skills. For further advice on installing your new Xtrons stereo, read out more detailed guide
here.
 Double Din
 Single Din
 Original System Upgrade
 For Electric Cars
 Alfa Romeo
 Audi
Audi BMW
BMW Buick
Buick Chevrolet
 Citroen
 Dacia
Dacia Fiat
Fiat Ford
Ford GMC
GMC Holden
 Honda
Honda Hummer
 Hyundai
 Jeep
Jeep KIA
KIA Land Rover
 Mazda
Mazda Mercedes
 Mitsubishi
 Nissan
 Opel
Opel Porsche
 Renault
 SEAT
SEAT Skoda
Skoda Suzuki
 Toyota
 Vauxhall
 Volkswagen
 IE Series
 IAS Series
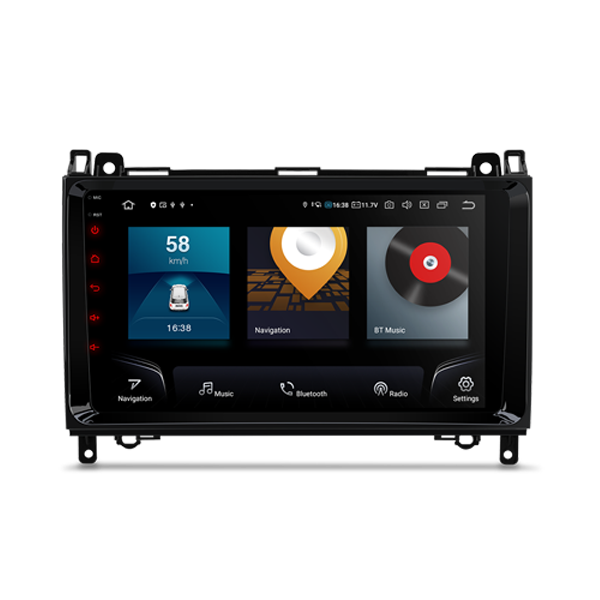 IQ Series
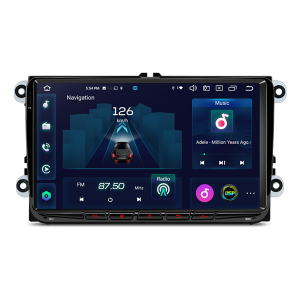 IX Series
 QL Series
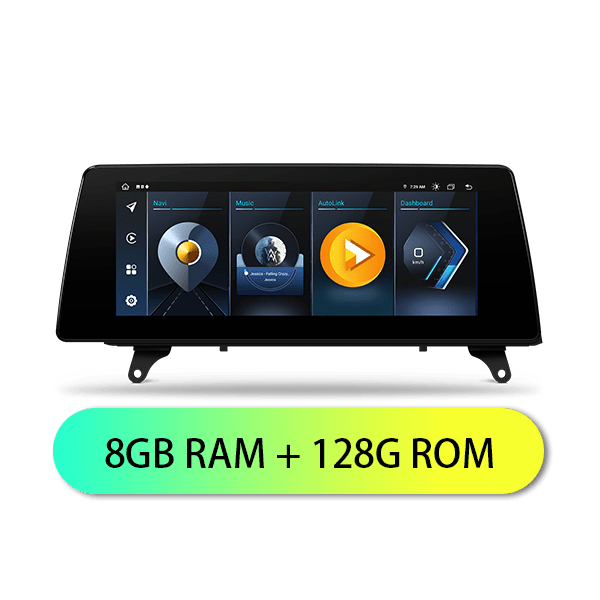 QA Series
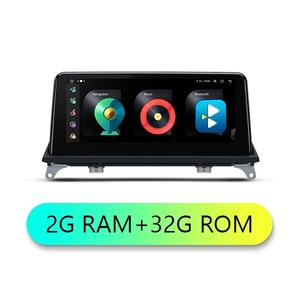 QE Series
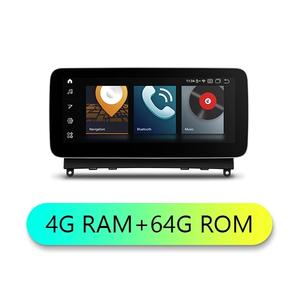 QS Series
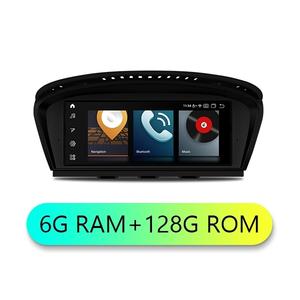 QP Series
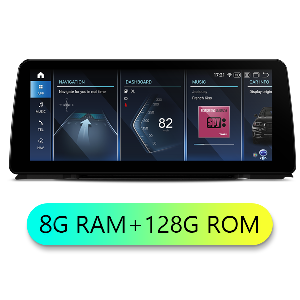 QX Series
 9 Inch
 10.1 Inch
 11.6 Inch
 12.5 Inch
 13.3 Inch
 14 Inch
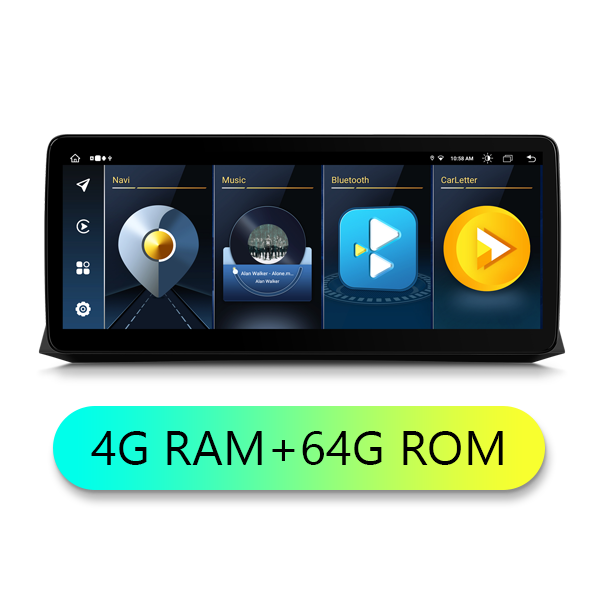
 Android System
 Bracket Mount
 Pillow Mount
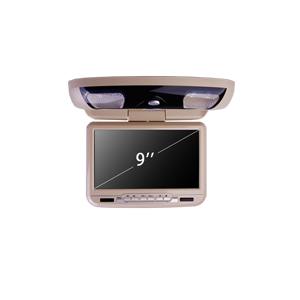 9 Inch
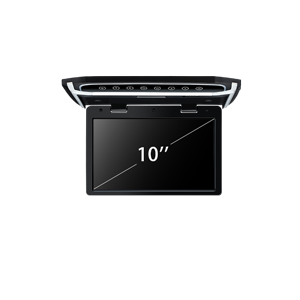 10 Inch
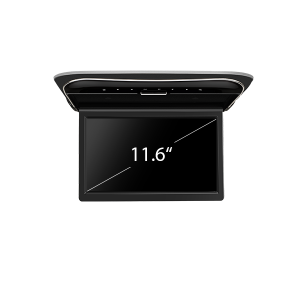 11.6 Inch
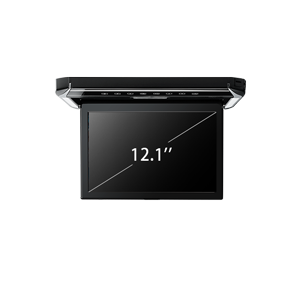 12.1 Inch
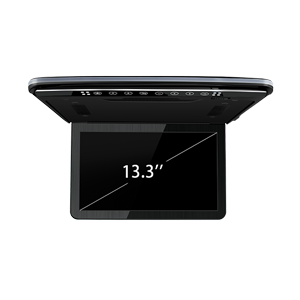 13.3 Inch
 15.6 Inch
 17.3 Inch
 19.5 Inch
 Android System
 DVD Player
 Monitor
 Convertors
 DAB/DAB+
 Dash Cam
 DVB-T
DVB-T External Microphones
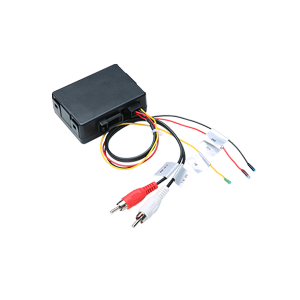 Fiber Optic Connectors
 Headphones
 OBDII Scanner Tool
 Parking Sensors
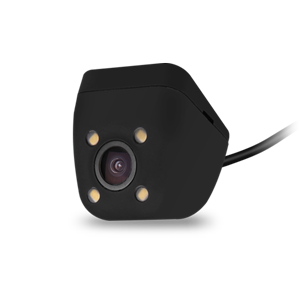 Reversing Cameras
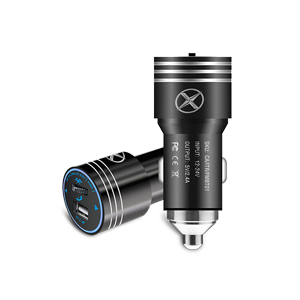 Spares
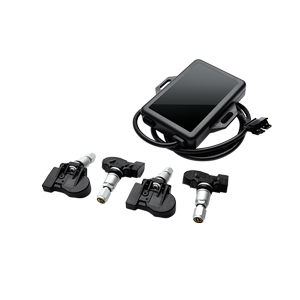 Tyre Pressure Monitoring
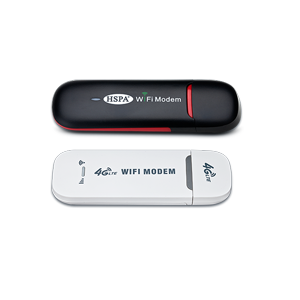 4G - 3G Dongles
 Apple Dongles
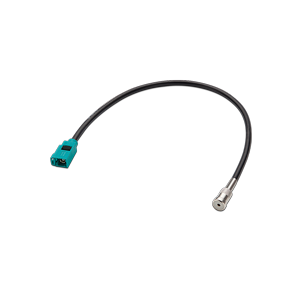 Antenna Adaptors
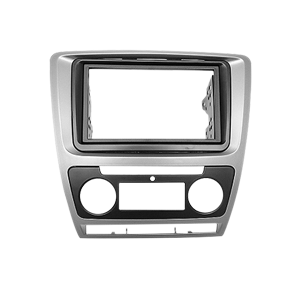 Fascia Panels
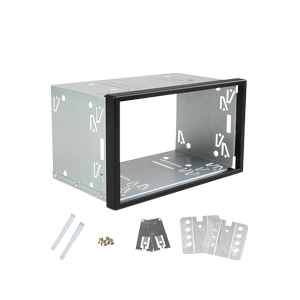 Fitting Cages
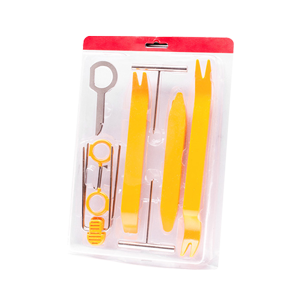 Installation Kit
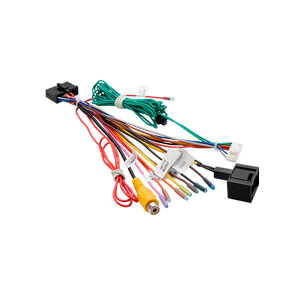 ISO Harness
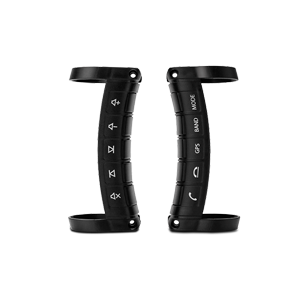 Steering Wheel Control